Good things come in small packages as the saying goes, and micro gardening is no exception. In a burgeoning world of people with ever-decreasing space, micro gardening has become a rapidly growing niche among city dwellers. Microgreens can be grown if you have a sunny windowsill, a shallow container, some potting mix, and suitable seeds.
This article is your one-stop guide to answer all your questions on micro gardening.
What Is A Micro Garden ?

Micro gardening is the practice of growing a variety of edible seedlings of veggies and herbs in containers and well-designed, small urban spaces. Micro gardens are designed to be highly productive, space and energy-efficient, sustainable, and grown in healthy living soil.
What Are The Benefits Of Micro Gardening ?
Downscaling a garden has many advantages.
- Doesn’t require heavy labor, expensive tools, or materials.
- Microgreens are packed with nutrients.
- Cheap establishment and maintenance.
- Easily accessible.
10+ Techniques Used To Grow A Micro Garden
In order to grow nutrient-dense food intensively in micro gardens, there are many things that are to be kept in mind- from soil to water management, microclimate to pollination, there’s a lot that goes behind a healthy micro garden:
- Making your own soil is always considered best.
- Using efficient water management practices, such as water harvesting, self-watering pots, drip irrigation, and wicking beds.
- Minimize problems and optimize harvests by working with nature, such as moon gardening, microbes, beneficial insects, guilds, and intercropping.
- Food crop rotation in containers and raised beds.
- Maintain the soil by remineralizing and balancing the soil pH.
- Building healthy soil and choosing the right mulch.
- Upcycling by using repurposed containers.
- Improve pollination by diversifying plants.
- Observe small details in garden ecosystems.
- Identify and use microclimates to the need of the microgreens.
- Maximizing plant health and minimizing waste by cycling nutrients.
- Making the area space-efficient with the help of vertical garden solutions and espalier.
- Considering portable options for temporary gardens for optimizing sun and shade.
How To Grow Your Own Microgarden In 10 Steps ?
Micro gardening, also called container gardening, is trending as urban farming is gaining momentum among millennials. Microgreens have a short harvesting period of a few weeks. So, growing these at home is not a time-consuming task. Moreover, it does not require much gardening equipment or experience. Hence, it serves as a relaxing hobby for city dwellers, while enjoying nurturing some greenery.
- The seed packet is to be read thoroughly to see if there are any special instructions.
- The bottom of the container is to be covered with an inch or two of moistened potting soil or mix. You can also use soil bricks which you can reconstitute with water.
- Level the shallow layer of soil with your hand or a small piece of cardboard. Make sure not to over-compress the soil.
- Sprinkle seeds evenly on top of the soil and press gently. Cover the seeds with a thin layer of soil.
- Use a mister to dampen the soil layer. You can skip this step and cover the container with a clear lid or plastic wrap until the seeds are sprouted.
- Use the sprayer once or twice daily while waiting for sprouts to appear to keep the soil moist but not wet. Do this for three to seven days.
- Once seeds have germinated, remove the cover (if you’d used one) and continue to mist once or twice a day so that the seedlings don’t dry out.
- Your microgreens are ready to harvest when they’re about 2 inches tall and true leaves have formed.
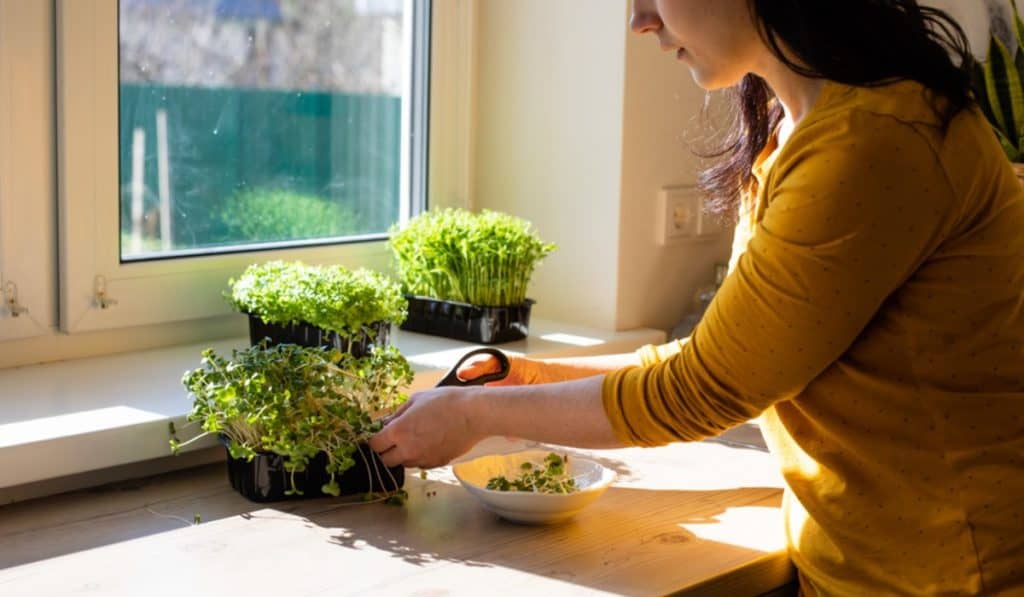
- Grab your scissors and snip the greens just above the soil level.
- Rinse your greens and use them to garnish entrees, or mix them with full-grown salad greens.
What Can You Grow In Your Micro Garden ?
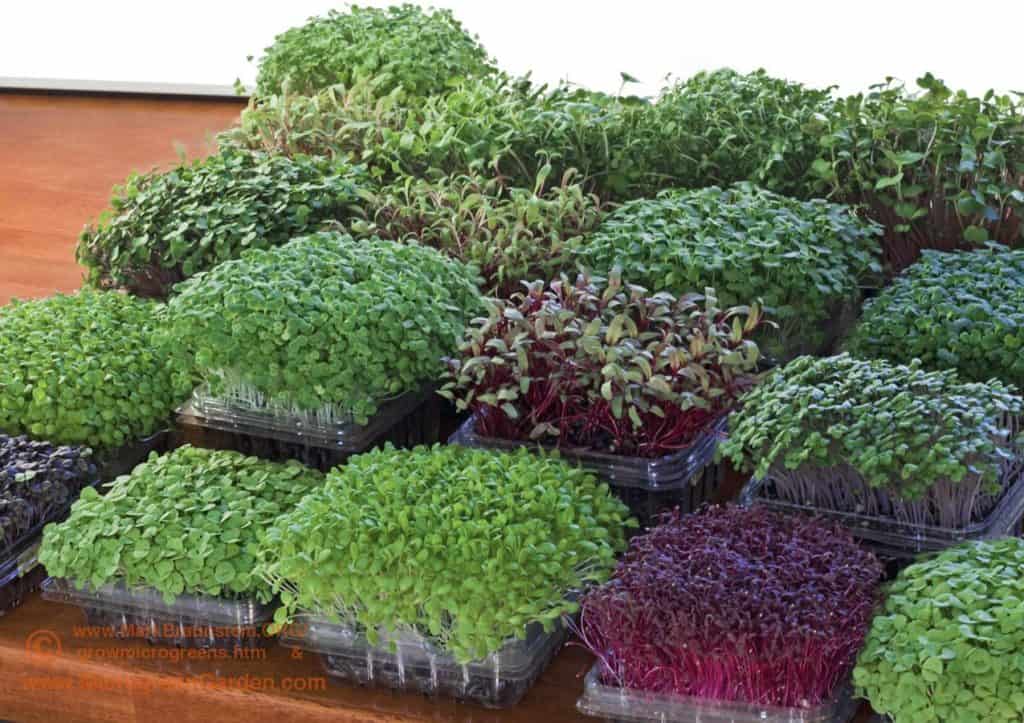
Salad greens, sprouts, herbs, and even edible flowers can be grown as microgreens. Among the easiest to grow varieties of microgreens are broccoli, cauliflower, cabbage, mustard, chia, sunflower, or buckwheat, and beginners mostly start by harvesting them in a single container. Other common varieties include basil, beets, celery, chervil, coriander or cilantro, kale, lettuce, parsley, peas, spinach, and sorrel.
Microgreens
Raise seeds in a tiny container of a seed-raising mix. Once the young seedlings have two true leaves, harvest your microgreens with scissors. From seed to feed in 7-21 days depending on the variety.
Herbs
You can group herbs with similar water and sun needs together. You can form groups such as culinary herbs and medicinal herbs.
Pick-And-Pluck Salad
The loose-leaf lettuce varieties of different leaf textures and colors can make a quick pick salad fresh from your own micro garden.
Sprouts
Probably the easiest one here and guess what! You don’t even need a garden to grow them. You can grow them indoors in a jar. Rinse them twice or thrice a day and they’ll be ready when they ‘sprout’.
Stackable Vertical Gardens
A stackable vertical micro garden is a space and water-saving solution. You can also maximize the number of plants you can grow in a tiny space.
Difference Between Micro Garden, Miniature Garden, And Sprouts

Micro gardens are different from miniature gardens and sprouts. Let’s learn how.
Microgreens
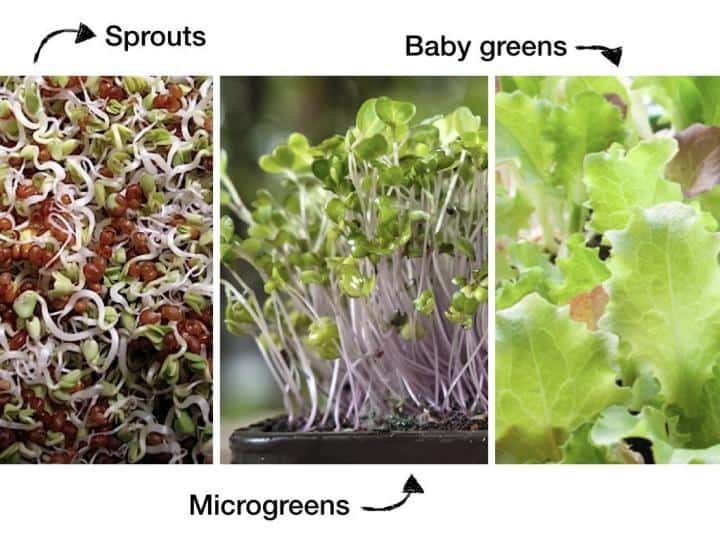
Microgreens are young vegetable greens, aptly called baby leaf vegetables. They are harvested with scissors less than a month after germination when the plants are up to 2 inches tall. The stem, cotyledons (or seed leaves), and first set of true leaves are all edible.
Miniature Garden
Miniature gardens are tiny landscaped gardens in containers, like plates, pots, buckets, cups, or a terrarium. Other features, such as tiny bonsai plants, dwarf plants, small fairies, houses, and rocks can also be added to miniature gardens.
Sprouts
Unlike sprouts, microgreens are mostly grown in soil and at times through a hydroponic system.
Final Takeaway: Micro Gardening Tips
- Use a potting mix or coco peat instead of garden soil.
- Before sowing the seeds, soak them overnight.
- Air circulation will reduce if seeds are not equally spaced. This will result in rotting and fungal growth.
- Use a spray bottle to water the seedlings. Make sure you don’t overwater them.
- Spray water directly onto the soil at the bottom of the plant once the plants have sprouted. This will help you to avoid fungal diseases, which are very common while growing microgreens.
- Keep it in an airy space to avoid mold. If it is indoors, try to increase air circulation by using a fan or keep the window open.
- After 10 or 12 days, once the seedlings are about two inches tall, cut them using a pair of scissors.
FAQs: What Is Micro Gardening And How Can You Grow Your Own Micro Garden With Limited Supplies
1. What type of plants is suitable for micro gardening ?
Salad greens, sprouts, herbs, and even edible flowers can be grown as microgreens. Among the easiest to grow varieties of microgreens are broccoli, cauliflower, cabbage, mustard, chia, sunflower, or buckwheat, and beginners mostly start by harvesting them in a single container. Other common varieties include basil, beets, celery, chervil, coriander or cilantro, kale, lettuce, parsley, peas, spinach, and sorrel.
2. What are the benefits of micro gardening ?
Downscaling a garden has many advantages.
3. How do you start a micro garden ?
Setting up a micro garden is the first step towards a kitchen garden. A beginner can start with mustard, green grams, or fennel and then move on to sunflower and flax seeds. You can easily grow fenugreek, radish, kale, arugula, beetroot, wheatgrass, basil, buckwheat, sunflower, and pea shoots. Start with just a couple of varieties and add more, as you go along,
4. Do microgreens regrow ?
Peas, beans, and kale are some microgreens that can regrow after being cut. You can also experiment with your favorite microgreens by using larger pots so as to provide better root structure to your microgreens.


